How to Take Full Page Screenshot: how to take full page screenshot on any device
Master how to take full page screenshot with our easy guide—exploring built-in browser tools, extensions, and mobile methods for perfect captures.

Recommended Extensions
When you need to capture a webpage, you're usually after the whole story, not just the bit that fits on your screen. Taking a full-page screenshot means grabbing everything from the top banner to the bottom footer in one clean shot. The good news? You can skip the tedious process of taking multiple shots and stitching them together. Your two best bets are a simple browser extension for one-click captures or your browser's own developer tools for a native solution.
Why a Full Page Screenshot Is a Modern Necessity
Have you ever tried to save a long article or an online receipt, only to end up with a confusing puzzle of partial images? It's a common frustration. You don't just lose parts of the page; you lose the complete picture. Standard screenshots just can't handle today's endlessly scrolling websites, failing to capture the full context.
That’s exactly why knowing how to take a full-page screenshot has become such a vital skill. It’s not just a neat trick; it's a practical tool for designers, marketers, and really anyone who needs to document web content accurately.
Beyond the Visible Window
A regular screenshot only snags what you see in the moment. A full-page capture, on the other hand, saves the entire length of the page in one continuous, high-quality image. This is a game-changer for a bunch of everyday tasks:
- Design and UX Reviews: Imagine trying to critique a product page's user flow with just a few disconnected images. Capturing the entire journey gives your team the full context.
- Content Archiving: Found a fantastic long-form article you want to read offline? A full-page capture saves it all for later.
- Record Keeping: Perfect for documenting a complete transaction history or a lengthy email thread for your records without missing a single detail.
- Bug Reporting: When you spot a visual glitch, showing developers the entire page helps them pinpoint the problem much faster.
This decision tree can help you quickly figure out the best method based on what you need and how comfortable you are with different tools.
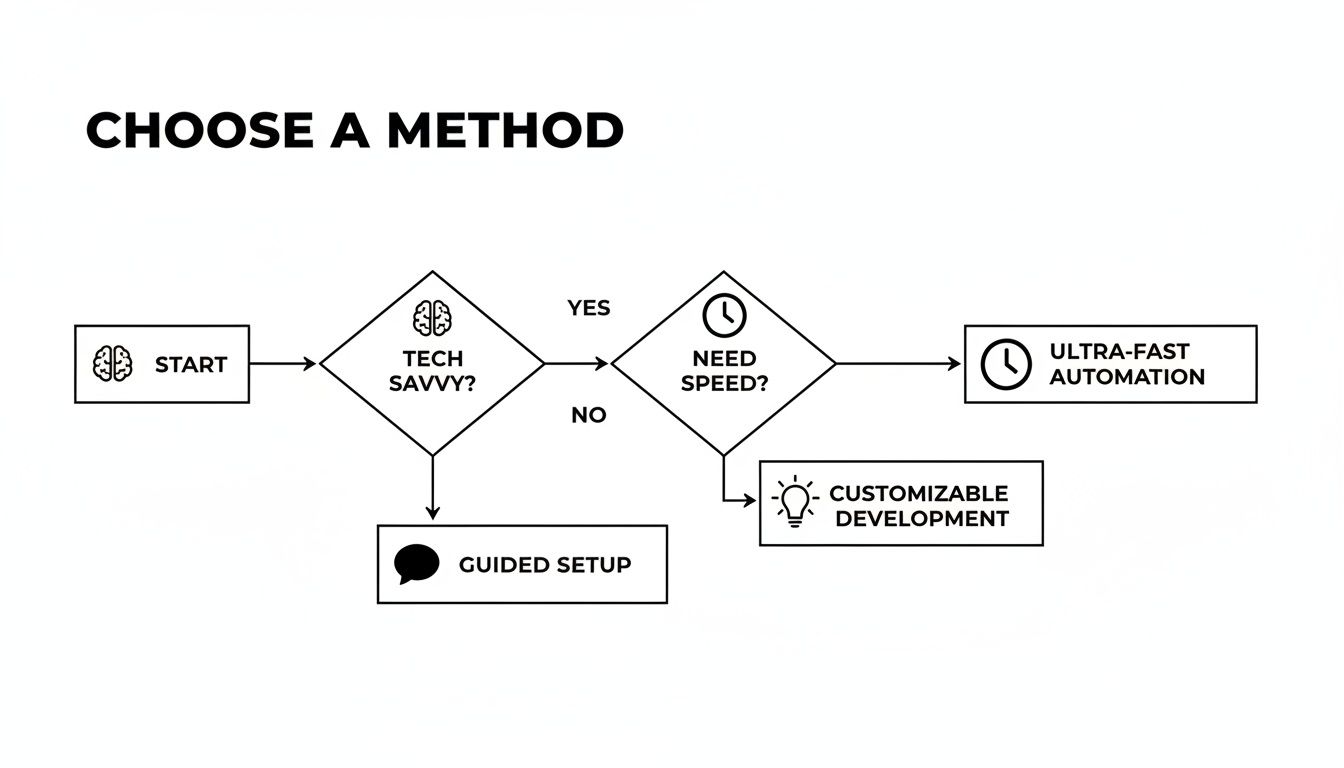
As the flowchart shows, if speed and simplicity are your top priorities, an extension is probably your best bet. If you're okay with a few more clicks and prefer a built-in solution, browser tools are a solid choice.
The need for this technique really took off with the rise of responsive design. As web pages grew longer and more dynamic, QA teams discovered that capturing the entire rendered page was critical for testing. In fact, by 2015, many were reporting that this method slashed visual regression bugs by 30–40% compared to single-viewport screenshots. Why? Because it caught those tricky off-screen elements and lazy-loaded content that would otherwise be missed. You can dig deeper into these web testing findings on Research and Markets.
Quick Guide to Full Page Screenshot Methods
To help you decide at a glance, this table breaks down the most common methods, their ideal use cases, and what’s required.
| Method | Best For | Technical Skill | Requires Installation |
|---|---|---|---|
| Browser DevTools | Quick, one-off captures without installing anything. | Basic | No |
| Browser Extensions | Frequent use, added features like editing and cloud storage. | None | Yes |
| Mobile OS Features | Capturing content on your phone or tablet. | None | No |
| Third-Party Apps | Advanced features, automation, and team collaboration. | Varies | Yes |
Each of these approaches has its place. The right one for you really just depends on how often you'll be taking captures and what you plan to do with them afterward.
Using Built-In Browser Tools for Clean Captures
Sometimes, the best tool for the job is the one you already have. Before you go searching for another extension, it's worth knowing that browsers like Google Chrome and Microsoft Edge have a powerful, built-in feature for taking full-page screenshots. It’s a favorite among developers and other tech-savvy folks because it’s precise and completely clutter-free.
This native tool is tucked away inside the Developer Tools panel. That might sound a little intimidating, but the process is surprisingly simple. No downloads, no sign-ups, and no extra icons crowding your toolbar. You just get a pixel-perfect capture of the entire page, exactly as the browser itself sees it.
Accessing the Screenshot Command
First things first, you need to open Developer Tools on the page you want to capture. There are a couple of quick ways to do this:
- Keyboard Shortcut: The fastest route is pressing
Cmd+Option+Ion a Mac orCtrl+Shift+Ion Windows. - Right-Click Menu: You can also just right-click anywhere on the page and choose "Inspect" from the menu that pops up.
With the DevTools panel open, the next step is to run a command. Don't worry, you won't be writing any code. Just open the command menu by pressing Cmd+Shift+P (Mac) or Ctrl+Shift+P (Windows).
A search bar will appear at the top of your screen. Simply start typing "screenshot," and you'll see a list of options show up instantly.
Pro Tip: You'll see a few choices, but for a complete capture, ignore the "area" or "node" options. The one you’re looking for is
Capture full size screenshot. This command tells the browser to stitch together the entire page into one seamless image.
Select that option, hit Enter, and that's it. The browser will take a moment to process the whole page and then automatically download the screenshot, usually as a PNG file, right into your downloads folder. It’s an incredibly clean and direct method.
Of course, while this built-in option is fantastic for a quick, no-fuss capture, it does have its limits. If you find yourself needing more features like instant editing, annotations, or cloud saving, a dedicated tool like the ShiftShift Full Page Screenshot extension can really speed up your workflow.
Capturing Specific Mobile Views
Here’s where the DevTools method really shines: capturing exactly how a webpage looks on a specific mobile device. This is a game-changer for web designers, developers, and QA testers who need to document responsive designs without guessing.
Before you run the screenshot command, you just need to switch into Device Mode.
With your DevTools panel still open, look for a small icon that looks like a phone and a tablet (Toggle device toolbar) and give it a click. Your webpage will immediately shrink down to a mobile-sized view.
From there, you can use the dropdown menu at the top of the viewport to pick a specific device, like an "iPhone 14 Pro" or a "Pixel 7."
Once you've got the view you want, just run the Capture full size screenshot command exactly as you did before.
The result is a perfect, full-length image of your site as it appears on that exact device's screen. It's an incredibly accurate way to create snapshots for bug reports, design mockups, or client presentations, all without needing to have the physical device in your hand.
Built-in browser tools are handy in a pinch, but let's be honest—they're not built for a heavy-duty workflow. When you need to capture full-page screenshots regularly, nothing comes close to the speed and convenience of a good browser extension. These tools park themselves right in your browser's toolbar, turning a clunky, multi-step process into a single, satisfying click.
Think about the real-world scenarios. You might be a designer archiving competitor websites for a mood board, a marketer saving long articles for research, or a support agent trying to document a tricky user issue from top to bottom. In these cases, fumbling with developer tools just won't cut it. Speed is what you need, and extensions deliver.
The ShiftShift Extensions suite is a perfect example of this kind of efficiency. Its Full Page Screenshot tool is tucked away inside a unified command palette, so it’s always ready when you need it but never clutters your screen. It’s an ideal setup for professionals who demand powerful tools without sacrificing a clean, focused workspace. If you're looking to streamline your work, you can explore more of our powerful browser extension tools.
Choosing the Right Extension for Your Needs
A quick search on the Chrome Web Store will turn up dozens of screenshot tools. So, how do you separate the good from the great? It really boils down to a few key factors.
- Performance and Speed: How fast does it actually capture the page? Some extensions crawl on long, complex pages while others are nearly instant.
- Editing Features: Does it have an editor built-in? The best tools let you crop, add text, draw arrows, or even blur sensitive info right after you take the shot.
- Export Options: Can you save it as a PNG or JPG? Even better, can you export it as a searchable PDF? Flexibility is key.
- Privacy Policy: This is a big one. The extension can technically "see" the page you're on, so a clear, privacy-first policy is non-negotiable. Tools that do all the processing locally on your machine are always the safest choice.
Finding the right tool often comes down to personal preference and your specific needs, but user reviews and ratings can tell you a lot.
It’s also worth knowing a bit about what’s happening under the hood. Many extensions use a "scroll-and-stitch" technique. They programmatically scroll down, snap a picture of each section, and then piece them together. Others use the browser's native rendering engine to generate one single, flawless image from the get-go.
The performance difference is pretty stark. Benchmark reports show that native rendering methods are often much faster, taking just 0.8–1.6 seconds on average. In contrast, the scroll-and-stitch approach can take 1.8–3.5 seconds and has a much higher chance of failing on pages with tricky layouts.
You'll really notice this on pages with sticky headers or animations. The scroll-and-stitch method can easily get confused, leaving you with weird visual glitches or duplicated elements in your final screenshot.
A Practical Walkthrough With an Extension
Getting started with an extension is incredibly simple. Once you've installed one you like from your browser's web store, its icon will usually pop up next to your address bar.
From there, the process is dead simple. Just navigate to the page you want to capture and click the extension's icon. Most quality tools will immediately give you a few choices:
- Capture Full Page: The main event. This is the one-click option that grabs everything.
- Capture Visible Area: A quick snap of just what's on your screen right now.
- Capture Selected Area: Lets you click and drag to define the exact region you want.
Once you hit Capture Full Page, the extension takes over, automatically processing the entire page. In a moment, a new tab will open with your finished screenshot, all ready for you to edit. You can use the built-in tools to add notes or crop it down before saving it to your computer as a PNG, JPG, or PDF. This seamless flow is exactly why extensions are an indispensable part of my toolkit.
Mastering Scrolling Screenshots on Mobile
Let's face it, we live on our phones. Capturing content on the go isn't just a nice-to-have; it's essential. Knowing how to take a scrolling screenshot on your phone is a modern-day superpower, perfect for saving everything from long text threads to detailed online recipes.
Thankfully, you don't need a third-party app for this anymore. The process is a little different between iOS and Android, but both have some surprisingly powerful built-in tools that get the job done.
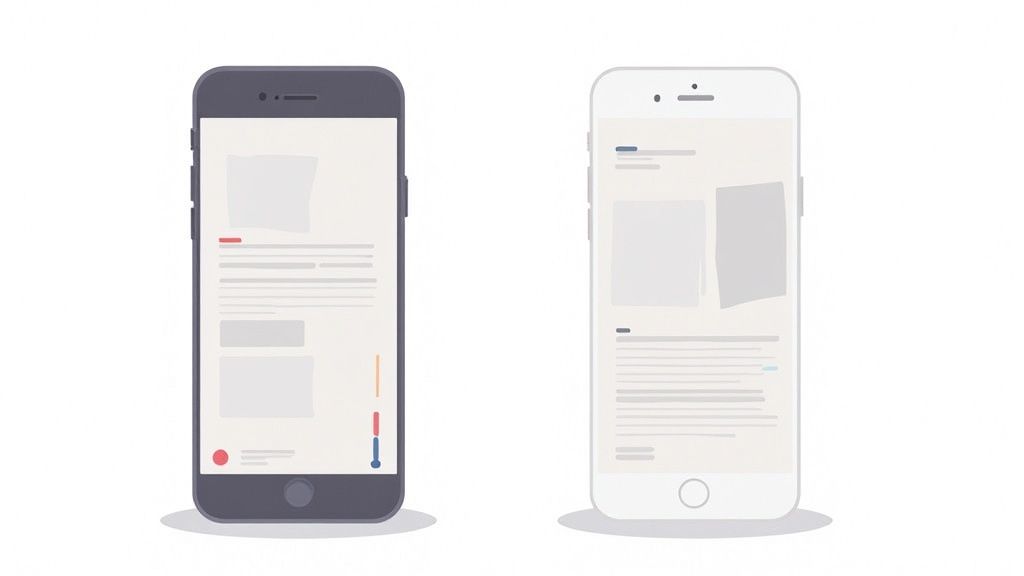
Capturing Full Pages on an iPhone
Apple has a slick full-page screenshot feature baked right into iOS, but it really shines when you're using Safari. It's a bit of a hidden gem if you don't know where to look.
First, just snap a screenshot the way you always do:
- For iPhones with Face ID: Press the Side button and the Volume Up button at the same time.
- For iPhones with a Home button: Press the Side button and the Home button together.
A little thumbnail preview will pop up in the bottom-left corner. You have to be quick and tap it before it vanishes. Once you're in the editor, look at the top of the screen. You’ll see two tabs: Screen and Full Page.
Give Full Page a tap. A slider will appear on the right, letting you preview the entire webpage you just captured.
Here's the catch: The native iOS feature saves these full-page captures as a PDF, not a standard image file like a PNG or JPG. This is fantastic for saving articles or documents, but it's something to keep in mind if you were hoping for an image.
Taking a Scrolling Screenshot on Android
The Android ecosystem is a bit of a wild west with all the different manufacturers, but the core function is pretty consistent on most modern phones from Google, Samsung, and OnePlus. You'll usually see it called Scroll Capture or Scrolling Screenshot.
Start by taking a normal screenshot, which is almost always done by pressing the Power and Volume Down buttons simultaneously.
As soon as you do, a small toolbar will appear at the bottom of your screen. Keep an eye out for an icon with downward-pointing arrows—it might be labeled "Capture more" or just show a scroll symbol. Tap it. Your phone will automatically scroll down and stitch the next section onto your screenshot.
You can keep tapping that button to continue capturing more of the page. When you've got everything you need, just tap the screenshot preview itself or wait for the toolbar to go away. Unlike iPhones, Android phones typically save these long captures as a single, tall image file (like a PNG), which is way easier for sharing in chats or on social media.
Why It Sometimes Fails
Ever tried to take a scrolling screenshot and the option just... isn't there? It happens. This is usually because the app you're in has a weird, non-standard layout or a custom way of scrolling. If the operating system can't detect a simple, scrollable window, it won't offer the feature.
When you hit that wall, the only real solution is to go old-school: take a series of overlapping screenshots manually and piece them together later if you have to.
How to Troubleshoot Common Screenshot Issues
You've taken the screenshot, but when you open the file, something’s wrong. Maybe part of the page is missing, there are weird visual glitches, or the file is just way too big to email. I've been there. Getting the capture is one thing; getting it right is another.
Let's walk through some of the most common hiccups and how to fix them.
Choosing the Right File Format: PNG vs. JPG
First things first, let's talk file formats. The choice between PNG and JPG (or JPEG) isn't just a technical detail—it directly impacts your final image's quality and size.
- PNG (Portable Network Graphics): Think of this as your high-fidelity option. PNG uses lossless compression, which means it keeps every single pixel perfectly intact. It’s the best choice for screenshots of websites, user interfaces, or anything with sharp text and clean lines. You won't get any blurriness here.
- JPG (Joint Photographic Experts Group): This is your go-to when file size is the top priority. JPG uses lossy compression, which cleverly discards some image data to shrink the file. It's great for photographs, but it can make text and sharp edges in a screenshot look a little fuzzy.
Sometimes you capture a perfect PNG but realize later you need a smaller file for a presentation or a blog post. No problem. You can easily convert from PNG to JPG to get that file size down without having to retake the shot.
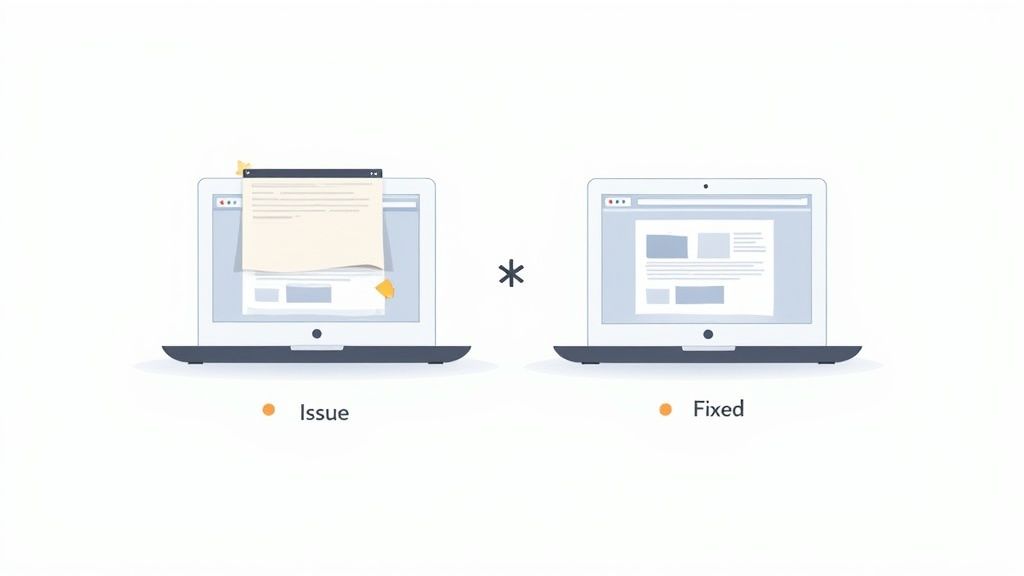
Fixing Cut-Off or Incomplete Captures
It’s one of the most frustrating things: you take a full-page screenshot only to find the bottom half is just a blank white void.
This almost always boils down to how modern websites are built. Many use a technique called lazy loading, where images and other content don't actually load until you scroll them into view. It’s great for performance, but it can trick screenshot tools that move faster than the content appears.
The fix is surprisingly simple. Before you hit that capture button, just scroll all the way down to the bottom of the page yourself. Take your time. This forces every single lazy-loaded element to appear, giving your tool a complete, fully-rendered page to work with.
This little pre-scrolling trick is also the secret to capturing pages with infinite scroll, ensuring you get everything you need.
Dealing with Sticky Headers and Footers
You know those navigation bars that stay glued to the top or bottom of your screen as you scroll? They’re called "sticky" elements, and they can wreak havoc on screenshot tools that work by scrolling and "stitching" images together.
If you’ve ever seen a final screenshot with the same header repeated over and over down the page, this is why. The tool gets confused and captures it in every segment.
This is where your choice of tool really matters.
- Browser DevTools: The built-in commands in Chrome or Edge are usually smart enough to handle this. They render the entire page at once, so they see the sticky header as a single element in its proper place.
- Advanced Extensions: The best screenshot extensions are specifically programmed to identify sticky elements and handle them correctly, either by capturing them just once or removing them entirely for a clean shot.
If your current tool keeps giving you repeated headers, switching to a more sophisticated method like DevTools or a purpose-built extension is your best bet.
Here's a quick reference table I've put together based on years of dealing with these exact problems. It covers the most frequent issues people run into and the fastest way to get them sorted.
Common Screenshot Problems and Solutions
| Problem | Likely Cause | Recommended Solution |
|---|---|---|
| Missing Content/Blank Spaces | Lazy loading or infinite scroll didn't load all elements before the capture was taken. | Manually scroll to the very bottom of the page before initiating the screenshot to force all content to load. |
| Repeated Headers/Footers | Sticky elements on the page are confusing screenshot tools that "stitch" images together. | Use a more advanced capture method, like the browser's built-in DevTools or a dedicated extension that can handle sticky elements. |
| Blurry Text or Fuzzy Details | The screenshot was saved as a JPG with high compression, which degrades quality. | Save the screenshot as a PNG for maximum clarity. If file size is critical, use a JPG but with a higher quality setting. |
| Extremely Large File Size | A long page was saved as an uncompressed PNG, resulting in a massive file. | Save as a JPG or use an online tool to compress the PNG. You can also convert PNG to JPG for a smaller file. |
| Capture Fails on Complex Pages | The page has complex interactive elements, animations, or scripts that interfere with the tool. | Try disabling JavaScript temporarily via DevTools, or use a different screenshot extension that might be more compatible. |
Hopefully, this table gives you a clear path to follow next time your screenshot doesn't turn out quite right. A little troubleshooting know-how can save a ton of time and frustration.
Got Questions? We've Got Answers
Even with the best tools at your fingertips, you're bound to run into a few tricky situations when capturing full-page screenshots. Let's tackle some of the most common questions I hear so you can get a perfect capture every time.
What’s the Best Format for Saving My Screenshot?
Nine times out of ten, PNG is your best bet. It uses what's called lossless compression, which is just a fancy way of saying your image won't lose any quality. Every line of text will be razor-sharp and every design element will look exactly as it does on the screen. This is non-negotiable for design mockups, bug reports, or any professional work where detail is king.
So, when would you use something else? JPG is really only for when file size is your absolute biggest concern, and you're okay with a little bit of fuzziness. For archiving articles or bundling multiple captures, PDF is a fantastic option, especially when the tool you're using keeps the text selectable.
Can I Actually Screenshot a Page That Requires a Login?
You absolutely can. Every single method we've talked about—from DevTools to browser extensions—works by capturing what's currently on your screen. The process is happening entirely on your computer.
Because you're already logged in, your browser has rendered the page with all the authenticated content. The screenshot tool is just taking a picture of what's already there. It doesn’t interact with the server, so there's no security risk involved.
The key thing to remember is this: If you can see it in your browser, a screenshot tool can capture it. This makes these tools perfectly safe for documenting things like private account dashboards or internal company portals.
Why Do My Screenshots Look Glitchy or Have Missing Images?
This is probably the most common headache, and it's almost always caused by how modern websites are built. A few specific techniques are notorious for tripping up screenshot tools:
- Lazy Loading: This is when images don't actually load until you scroll them into view. It's great for page speed, but bad for screenshots.
- Parallax Scrolling: Those cool effects where the background moves at a different speed than the foreground can confuse capture tools.
- Sticky Elements: Think headers, footers, or sidebars that stay put while you scroll. Sometimes they can get duplicated or cover up content in the final image.
The fix is surprisingly simple. Before you trigger the screenshot, just take a moment to manually scroll all the way to the bottom of the page and then back to the top. This forces the browser to load everything, giving the tool a complete, fully-rendered page to work with. It's a small step that solves the problem most of the time.
If you're looking for a tool that handles these complex pages without the extra legwork, the ShiftShift Extensions suite is worth a look. Its one-click Full Page Screenshot tool is built to deal with modern web design quirks gracefully, all from a single, unified command palette. It's a serious upgrade from the basic built-in options. You can explore the ShiftShift ecosystem to see how it can simplify your workflow.
Article created using Outrank